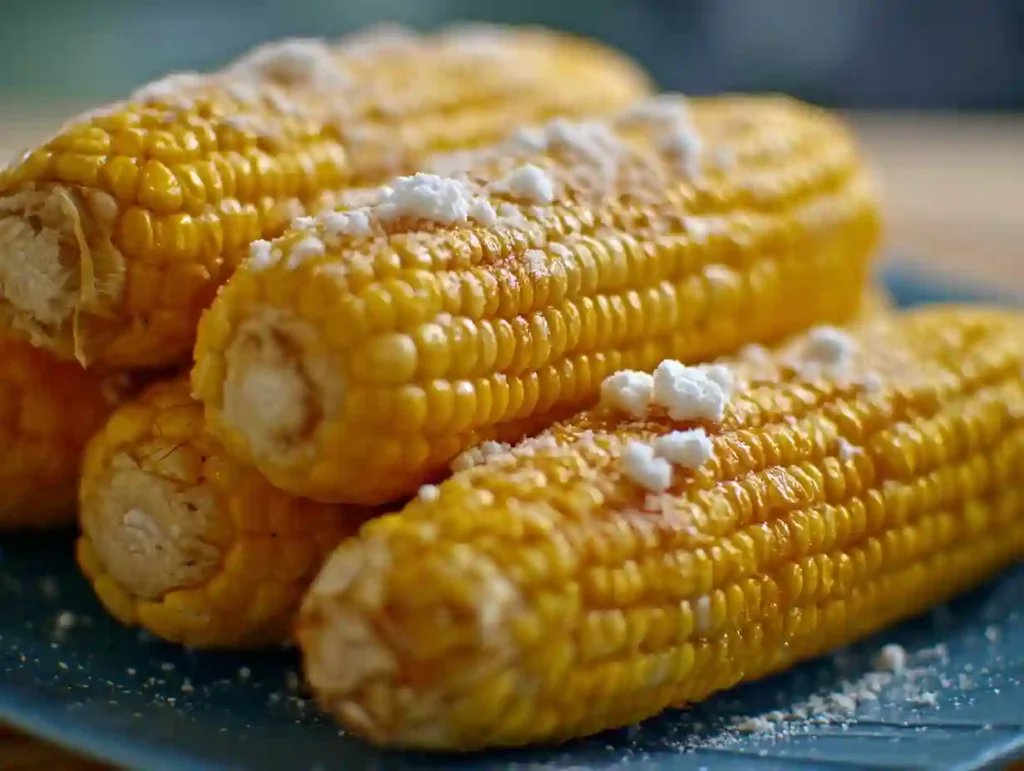
Corn on the cob is one of those simple pleasures of summer. Nothing says backyard barbecues, picnics in the park, or family dinners quite like biting into a juicy, golden-yellow cob of corn. The kernels pop with sweetness, and with the right cooking method, every bite is tender, creamy, and bursting with flavor.

Here’s the best part: you don’t need a complicated recipe, fancy gadgets, or a long list of seasonings to make the perfect corn on the cob. In fact, with just two simple ingredients, you can create corn that’s sweet, buttery, and absolutely irresistible. Whether you’re cooking for a crowd or just craving a quick snack, this method is foolproof and guaranteed to deliver amazing results every single time.
Forget the overly complicated recipes that call for spices, marinades, or long baking times. Corn is naturally sweet and delicious—it just needs a little help to shine. With this easy approach, you’ll have a go-to recipe that works every season of the year.
Why You’ll Love This Recipe
- Only 2 ingredients – No pantry overload or last-minute store runs.
- Quick and easy – Ready in about 15 minutes from start to finish.
- Naturally delicious – Showcases the corn’s natural sweetness with no unnecessary extras.
- Family favorite – Loved by kids and adults alike.
- Versatile – Perfect as a side dish for grilled meats, seafood, or vegetarian meals.
The Secret 2 Ingredients
You don’t need a dozen seasonings—just these two simple ingredients:
- Fresh corn on the cob – The star of the show. Look for ears with bright green husks and plump kernels.
- Butter – The perfect complement that brings out the corn’s creamy texture and sweetness.
That’s it! Of course, you can add optional toppings like salt, pepper, parmesan, or fresh herbs, but the magic of this recipe is how amazing it tastes with just corn and butter.
Step-by-Step Instructions
Step 1: Prep the Corn
Peel back the husks and remove the silk strands. Rinse the corn under cool water to remove any remaining bits of silk.
Step 2: Boil the Corn
Fill a large pot with water and bring it to a boil. Carefully place the cleaned ears of corn into the pot. Cook for about 8–10 minutes, or until the kernels are tender and bright yellow.
Step 3: Drain and Butter
Remove the corn from the pot using tongs and let it drain briefly. While it’s still hot, generously spread butter over each cob, letting it melt into the kernels.
Step 4: Serve and Enjoy
Serve the corn immediately while warm. Each bite will be creamy, sweet, and full of flavor with absolutely no need for extra seasonings.
Chef’s Tips for Perfect Corn Every Time
- Don’t overcook – Corn should be tender but still slightly crisp. Overcooking can make it mushy.
- Cook in batches – If making a large amount, cook in smaller batches so each cob cooks evenly.
- Use salted butter – It enhances the flavor instantly without needing to sprinkle salt afterward.
- Keep it hot – If you’re serving later, keep cooked corn warm by wrapping it in foil.
Variations to Try
If you want to change things up, here are a few easy flavor variations:
- Herb butter – Mix butter with parsley, cilantro, or chives for a fresh twist.
- Parmesan corn – Sprinkle grated parmesan over the buttered corn for a cheesy touch.
- Spicy corn – Add a dash of chili powder or paprika.
- Sweet corn – Brush with honey butter for a dessert-style snack.
Frequently Asked Questions
Can I make this in the microwave?
Yes! Place a cleaned ear of corn on a microwave-safe plate, cover with a damp paper towel, and microwave for 3–4 minutes. Add butter afterward.
Can I grill instead of boiling?
Absolutely. Wrap each ear in foil with a pat of butter inside, then grill for 15 minutes, turning occasionally.
Do I need to salt the water?
Some cooks like to, but it’s not necessary. The butter at the end adds enough flavor.
How do I keep corn fresh before cooking?
Store unshucked corn in the refrigerator with husks on. It stays fresh for up to 2–3 days.
Nutrition Benefits
Corn is not only delicious but also nutritious. It provides fiber, vitamin C, and antioxidants while being naturally gluten-free. One ear of buttered corn typically has around 150 calories, making it a guilt-free side dish.
Storage and Reheating
- Refrigerator – Store leftover corn in an airtight container for up to 3 days.
- Freezer – Remove kernels and freeze in a zip-top bag for up to 3 months.
- Reheating – Warm leftover corn in the microwave with a pat of butter or on the stovetop with a splash of water.
Why This Recipe Works
The beauty of this recipe lies in its simplicity. Corn is naturally sweet, and butter enhances its creaminess without overpowering it. By boiling, you’re locking in moisture and ensuring every kernel bursts with juicy flavor. This method is quick, reliable, and works whether you’re making one cob or a dozen.
Final Thoughts
Sometimes the simplest recipes are the best ones. This 2-ingredient corn on the cob recipe proves that you don’t need a pantry full of spices or a complicated cooking method to create something delicious. With just fresh corn and butter, you’ll have a dish that’s creamy, sweet, and guaranteed to be the highlight of your meal.
So next time you’re planning a barbecue, picnic, or weeknight dinner, skip the complicated recipes. Grab some fresh corn, melt some butter, and enjoy the classic taste of summer. Foolproof, budget-friendly, and absolutely delicious—this is corn on the cob at its very best.
