
Coconut Chewies are the perfect dessert for anyone who loves the sweet, nutty flavor of coconut paired with a soft, chewy texture that melts in your mouth. These delightful bars are rich, buttery, and just the right amount of sweet — simple to prepare yet delicious enough to impress at any occasion. Whether you’re baking for a party, a family treat, or a holiday platter, these chewy coconut bars are a guaranteed hit.
The best part? They come together quickly with ingredients you likely already have in your kitchen. In less than an hour, you’ll have a golden batch of chewy, caramelized goodness that fills your kitchen with an irresistible aroma.
Why You’ll Love This Recipe
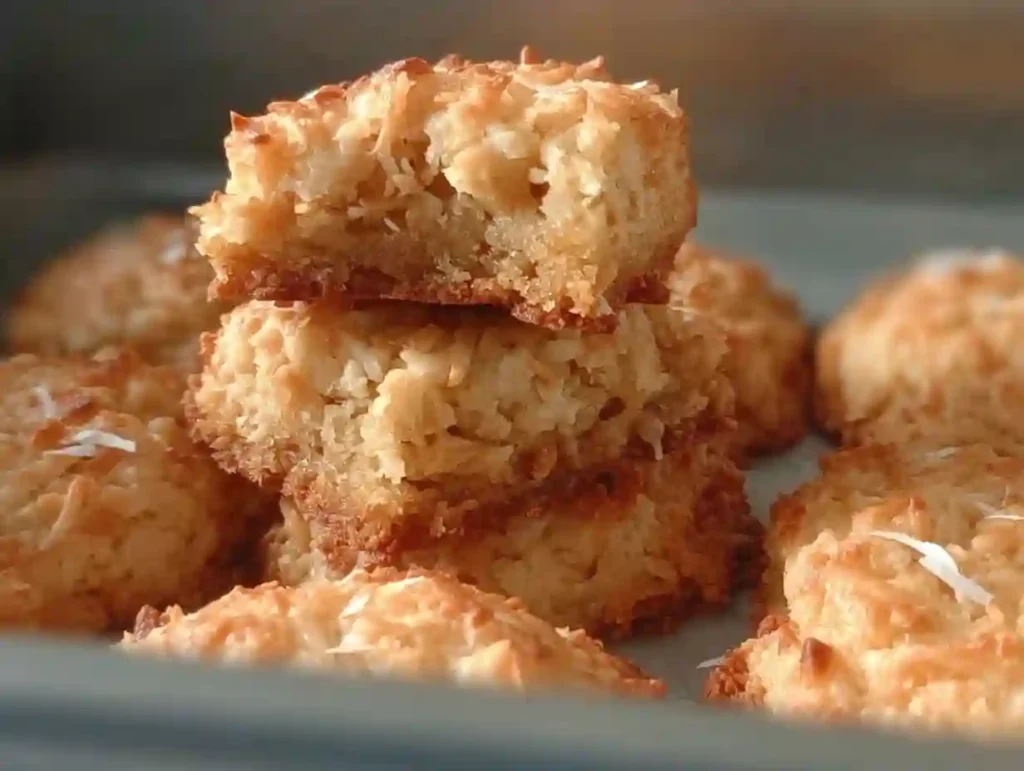
Coconut Chewies deliver the ideal balance between chewy and crisp. The edges turn golden and slightly crunchy, while the inside stays soft and gooey. They’re incredibly easy to make — no mixer needed, just a whisk and a baking pan. Plus, they store beautifully, making them a great make-ahead treat for busy weeks or festive gatherings.
Unlike traditional cookies, which can dry out quickly, these chewy bars stay moist for days, thanks to the natural oils in the coconut and the buttery batter that holds it all together. Each bite tastes like a tropical dream wrapped in caramelized sweetness.
Ingredients You’ll Need
For the Coconut Chewies:
– 1 cup unsalted butter, melted and slightly cooled
– 2 cups light brown sugar, packed
– 2 large eggs, room temperature
– 2 teaspoons pure vanilla extract
– 1 ½ cups all-purpose flour
– ½ teaspoon baking powder
– ½ teaspoon salt
– 2 cups sweetened shredded coconut
– Optional: ½ cup chopped pecans or walnuts for extra crunch
How to Make Coconut Chewies
Step 1: Prepare Your Pan and Oven
Preheat your oven to 350°F (175°C). Grease a 9×13-inch baking dish or line it with parchment paper for easy removal later. Make sure to leave a slight overhang if using parchment — it’ll help lift the bars out neatly once cooled.
Step 2: Mix the Wet Ingredients
In a large bowl, whisk together the melted butter and brown sugar until smooth and glossy. This step helps dissolve the sugar and gives the bars their signature caramel flavor. Add the eggs and vanilla extract, whisking until fully incorporated.
Step 3: Combine the Dry Ingredients
In a separate bowl, whisk together the flour, baking powder, and salt. Gradually stir the dry mixture into the wet ingredients until combined. Avoid overmixing — you just want everything evenly distributed for a tender texture.
Step 4: Add the Coconut
Fold in the shredded coconut (and chopped nuts, if using). The batter will be thick and sticky, which is exactly what you want. Spread it evenly into the prepared baking dish, pressing gently with a spatula to ensure it’s level.
Step 5: Bake Until Golden
Bake in the preheated oven for 25–30 minutes, or until the top is golden brown and the edges are slightly crisp. The center should look set but still soft — it will firm up as it cools. Overbaking can make the bars dry, so keep a close eye during the final few minutes.
Step 6: Cool and Slice
Let the bars cool completely in the pan on a wire rack. Once cooled, use the parchment overhang to lift them out and cut into squares or rectangles. For clean cuts, use a sharp knife and wipe it clean between slices.
Tips for Perfect Coconut Chewies
– Use light brown sugar for a mellow caramel flavor; dark brown sugar gives a deeper, molasses-like sweetness.
– If you prefer your bars less sweet, reduce the sugar slightly or add a pinch more salt to balance the flavor.
– For a tropical twist, add ½ teaspoon of coconut extract along with the vanilla.
– You can toast the shredded coconut before folding it into the batter for extra nuttiness and crunch.
– To keep them extra chewy, don’t overbake — they’ll continue to cook slightly in the hot pan after being removed from the oven.
Serving Suggestions
These Coconut Chewies are wonderful on their own, but they also pair beautifully with other desserts or beverages. Try serving them warm with a scoop of vanilla ice cream for a comforting dessert, or with a cup of coffee or tea for a cozy afternoon treat. During holidays, you can drizzle them with melted chocolate or a light caramel glaze for an elegant touch.
Storage Tips
Once cooled, store the bars in an airtight container at room temperature for up to 5 days. If you live in a warm climate, refrigerate them to extend freshness. They also freeze well — simply wrap individual bars in plastic wrap and store them in a freezer bag for up to 2 months. Thaw at room temperature before serving.
Nutritional Information (Per Bar)
Calories: 280 kcal
Fat: 14g
Carbohydrates: 36g
Protein: 3g
Sugar: 28g
Fiber: 2g
Sodium: 150mg

Coconut Chewies
Ingredients
For the Coconut Chewies:
– 1 cup unsalted butter, melted and slightly cooled
– 2 cups light brown sugar, packed
– 2 large eggs, room temperature
– 2 teaspoons pure vanilla extract
– 1 ½ cups all-purpose flour
– ½ teaspoon baking powder
– ½ teaspoon salt
– 2 cups sweetened shredded coconut
– Optional: ½ cup chopped pecans or walnuts for extra crunch
Instructions
Step 1: Prepare Your Pan and Oven
Preheat your oven to 350°F (175°C). Grease a 9×13-inch baking dish or line it with parchment paper for easy removal later. Make sure to leave a slight overhang if using parchment — it’ll help lift the bars out neatly once cooled.
Step 2: Mix the Wet Ingredients
In a large bowl, whisk together the melted butter and brown sugar until smooth and glossy. This step helps dissolve the sugar and gives the bars their signature caramel flavor. Add the eggs and vanilla extract, whisking until fully incorporated.
Step 3: Combine the Dry Ingredients
In a separate bowl, whisk together the flour, baking powder, and salt. Gradually stir the dry mixture into the wet ingredients until combined. Avoid overmixing — you just want everything evenly distributed for a tender texture.
Step 4: Add the Coconut
Fold in the shredded coconut (and chopped nuts, if using). The batter will be thick and sticky, which is exactly what you want. Spread it evenly into the prepared baking dish, pressing gently with a spatula to ensure it’s level.
Step 5: Bake Until Golden
Bake in the preheated oven for 25–30 minutes, or until the top is golden brown and the edges are slightly crisp. The center should look set but still soft — it will firm up as it cools. Overbaking can make the bars dry, so keep a close eye during the final few minutes.
Step 6: Cool and Slice
Let the bars cool completely in the pan on a wire rack. Once cooled, use the parchment overhang to lift them out and cut into squares or rectangles. For clean cuts, use a sharp knife and wipe it clean between slices.
Variations to Try
Chocolate Coconut Chewies: Add ½ cup of mini chocolate chips to the batter for a rich, chocolatey flavor that complements the coconut beautifully.
Lemon Coconut Chewies: Add 1 tablespoon of lemon zest and 1 teaspoon of lemon juice to the batter for a bright, citrusy twist.
Nutty Coconut Chewies: Mix in chopped pecans, almonds, or macadamia nuts for extra texture and a touch of savory balance.
Tropical Blend: Add a handful of dried pineapple or mango pieces for a fruity, island-inspired version that’s perfect for summer.
Final Thoughts
Coconut Chewies are a timeless dessert that celebrates simplicity and flavor. Their soft, chewy texture and rich coconut taste make them stand out among classic cookie and bar recipes. With minimal ingredients and just a few easy steps, you can create a bakery-quality treat in your own kitchen. Whether you enjoy them plain, dressed up with nuts or chocolate, or slightly warm from the oven, these bars are sure to satisfy every sweet craving.
Once you make these chewy coconut bars, they’ll quickly become a household favorite. They’re the kind of treat that disappears fast — a perfect blend of texture, sweetness, and nostalgia in every bite.