
A master seamstress once confided in me her secret for threading even the tiniest needle—an ingenious little trick that has served her well over six decades of sewing. Whether you’re wrestling with ultra-fine threads, coping with less-than-perfect eyesight, or simply tired of frayed ends refusing to cooperate, this simple hack is about to become your new best friend.
The Cotton Swab Solution: An Old-School Pro Tip
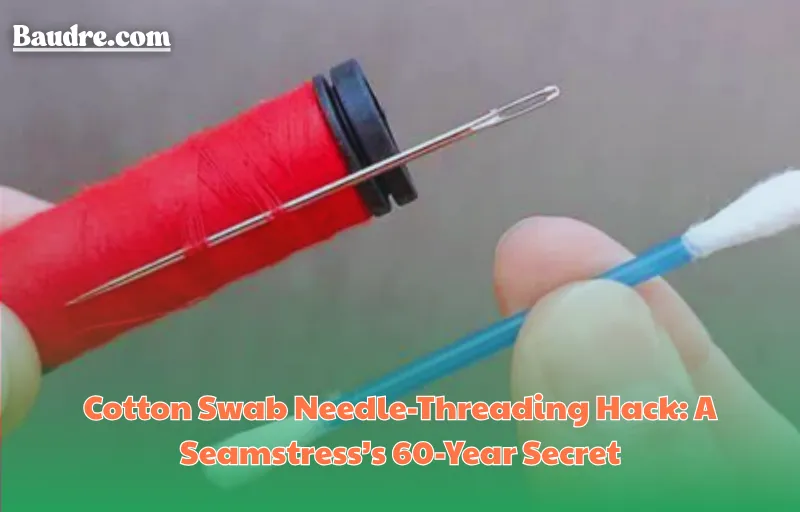
Many of us reach for needle threaders or magnifying glasses, but few realize that an everyday cotton swab (the Q-tip variety) can be just as effective—often more so. Here’s why this humble tool can transform a frustrating chore into a smooth, almost effortless motion:
1. Static Neutralizer and Grip Enhancer
Cotton swabs are slightly absorbent and can help tame the static cling that often causes fine threads to repel the eye of the needle. When you lightly rub the tip of the swab along the end of the thread, it encourages the fibers to stay together and prevents them from springing away at the last moment.
2. Fiber Alignment
Those multi-stranded threads can be stubborn. By drawing the thread gently between two cotton tips—almost as though you were ironing a crease—you align the tiny fibers into a neat, straight bundle. The result? A tidier, more cohesive tip that glides through the needle’s eye.
3. Controlled, Gentle Insertion
Fraying is the bane of needle threading. Instead of poking and prodding the loose fibers, use the firm but gentle cotton end to nudge the newly aligned thread through the eye. You’ll find you no longer have to force the thread, which reduces the chances of splitting or weakening it.
Step-by-Step Guide: Mastering the Method
- Prepare Your Materials
Gather your needle, thread spool, and a fresh cotton swab. Make sure the swab has a firm, intact cotton tip—discard any that are unraveling. - Trim and Dampen (Optional)
For the snappiest results, snip the thread at an angle with sharp scissors to create a clean tip. If you’re working with very fine silk or polyester threads, dip the end of the cotton swab in a drop of water (or saliva, as generations of stitchers have done). This slight dampening stiffens the fibers without making them soggy. - Align the Fibers
Place the thread between the cotton tip and roll it gently under light pressure. Slide it back and forth a couple of times until it feels smooth and cohesive under your fingers. - Position the Needle
Secure the needle on a flat, contrasting surface—some seamstresses prefer to rest it on top of their spool to keep it steady. - Thread with Precision
Holding the cotton swab at a slight angle, bring the prepared thread tip to the eye of the needle. Use the swab’s edge to guide the fibers straight into the hole, applying just enough push to slip through. - Seal and Sew
Once threaded, give a gentle tug to lock the thread in place. Trim any stray fibers, and you’re ready to stitch away without worrying about constant fumbles.
Why This Trick Stands the Test of Time
As sewing machines become more sophisticated and tools more specialized, the cotton swab hack remains a steadfast companion to professionals and hobbyists alike. Its brilliance lies in its simplicity:
- Cost-Effective: Cotton swabs are cheap and ubiquitous—no need for fancy gadgets.
- Portable: Slip a few into your travel kit and you’re ready to sew anywhere.
- Customizable: Adjust dampness, pressure, or swab orientation based on thread type, eye size, and eyesight.
Variations to Experiment With
While the classic cotton swab method works wonders, seasoned stitchers have discovered a few tweaks to suit their personal style:
- Waxed Tip: Lightly coat the swab tip with a thin layer of beeswax before aligning the thread for extra stiffness and water resistance.
- Fabric Texture Swap: Some prefer using a small piece of felt or a lint-roller patch for an even firmer grip on specialty threads.
- Colored Swabs: Brightly colored cotton tips can improve visibility for those with low contrast sensitivity.
Troubleshooting Common Hiccups
- Swab Damage: If your cotton tip starts to tear, replace it immediately—loose fibers can clog the needle eye.
- Thread Too Slick: For ultra-slippery threads, increase the dampness slightly or rub a tiny dab of beeswax onto the thread before alignment.
- Persistent Fraying: Ensure your scissors are razor-sharp; a dull cut encourages split ends that resist alignment.
Final Thoughts: Empower Your Sewing
With six decades under her belt, the veteran seamstress swears by this cotton swab technique, and it’s easy to see why. It bridges the gap between age-old wisdom and modern convenience, helping every stitch count. Next time you stare down a recalcitrant needle, reach for a cotton swab first—your eyes, your patience, and your seamwork will thank you.
Whether you’re repairing a favorite garment, quilting a family heirloom, or crafting couture creations, this simple cotton-swab hack brings precision and speed to one of sewing’s most finicky tasks. Give it a try, and thread your needles like a pro—every single time.